 ERD Studio for Confluence
Documentation
Get from "we use ERD Studio in VS Code" to "our diagrams are on Confluence pages" in about ten minutes.
| Step | Who | How often |
|---|---|---|
| 1. Install the Confluence app | Confluence site admin | Once per site |
| 2. Install the GitHub App | GitHub organisation owner | Once per GitHub organisation |
| 3. Connect GitHub to the site | Confluence site admin | Once per site |
| 4. Add a diagram to a page | Any page editor | Per diagram |
Before you start
Your diagrams need to be in a GitHub repository, in the .erd-studio/ folder that the
ERD Studio VS Code extension
creates: domain files at .erd-studio/<layer>/<domain>.json, with their models in
logical-models/*.yml in the same folder. Commit and push that folder.
1. Install the Confluence app
A Confluence site admin installs ERD Studio from the Atlassian Marketplace (Apps → Explore more apps). Paid plans start with a 30-day free trial, and sites with up to 10 users are free.
2. Install the GitHub App on your organisation
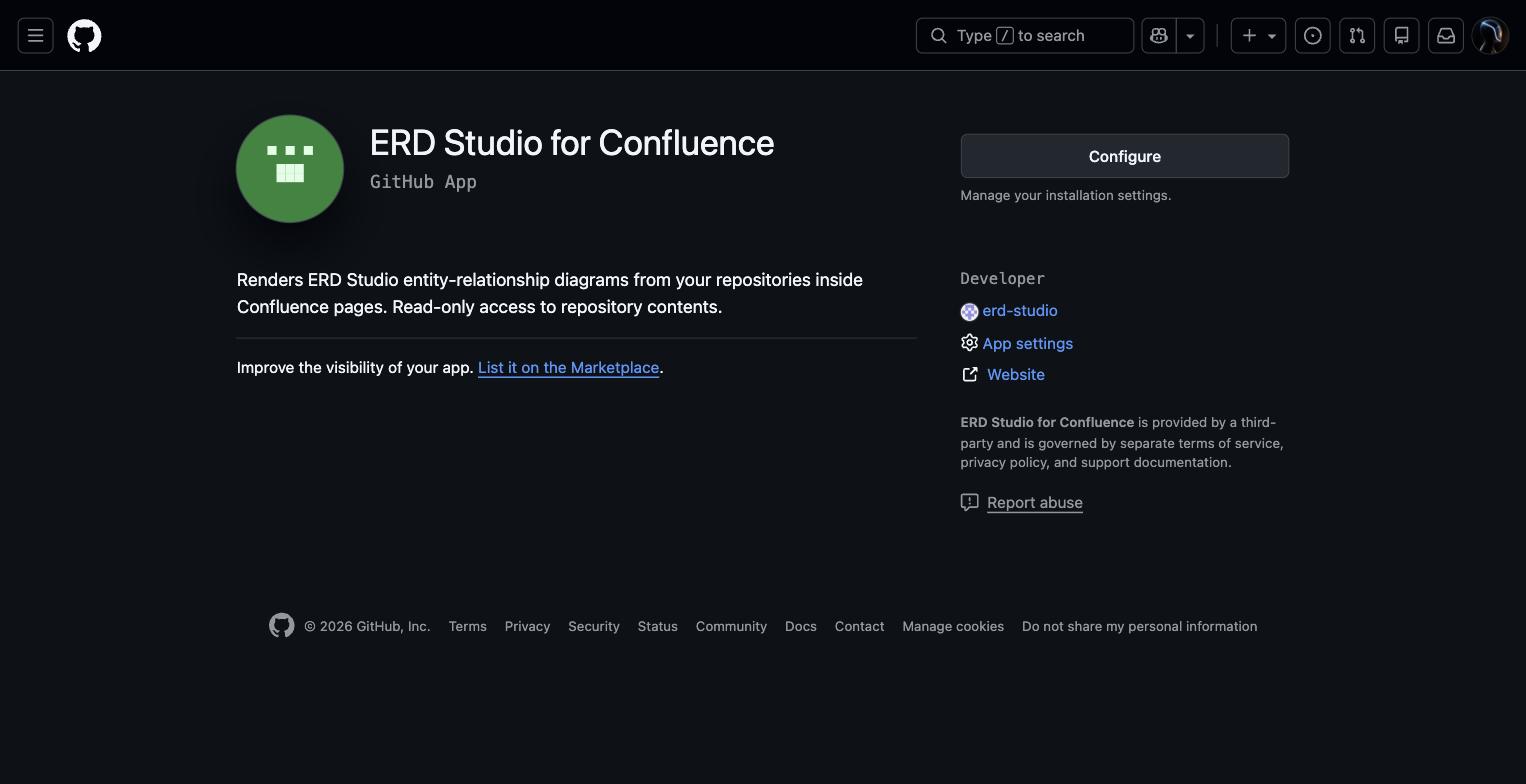
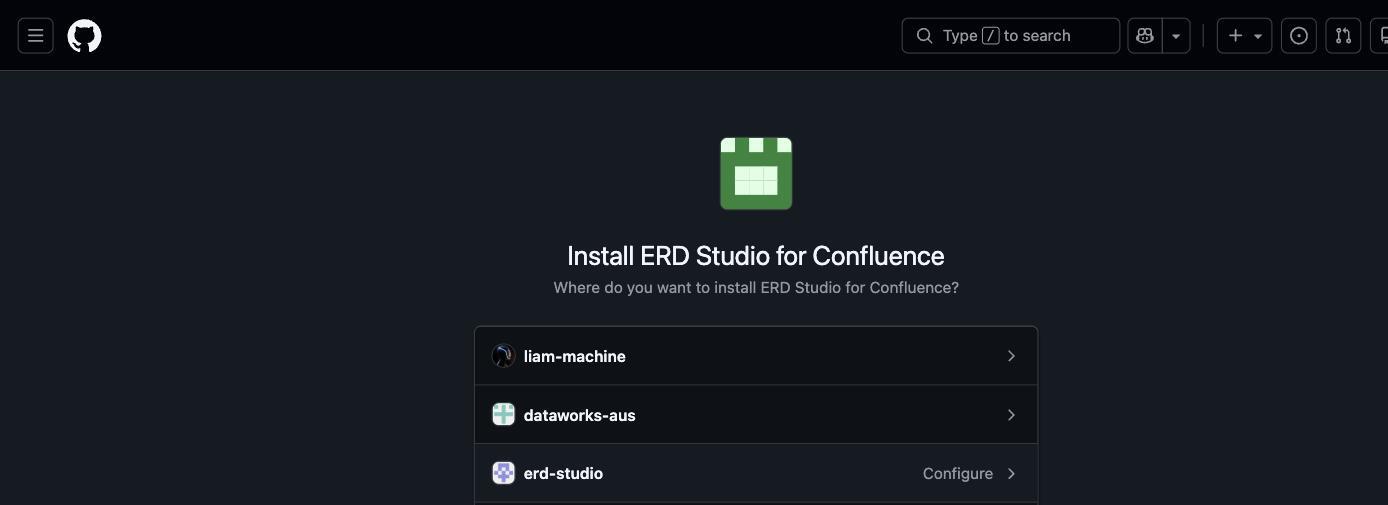
A GitHub organisation owner opens github.com/apps/erd-studio-for-confluence (or clicks Install on GitHub on the app's admin page) and clicks Install.
Choose the organisation that owns the repositories with your .erd-studio/ folders:
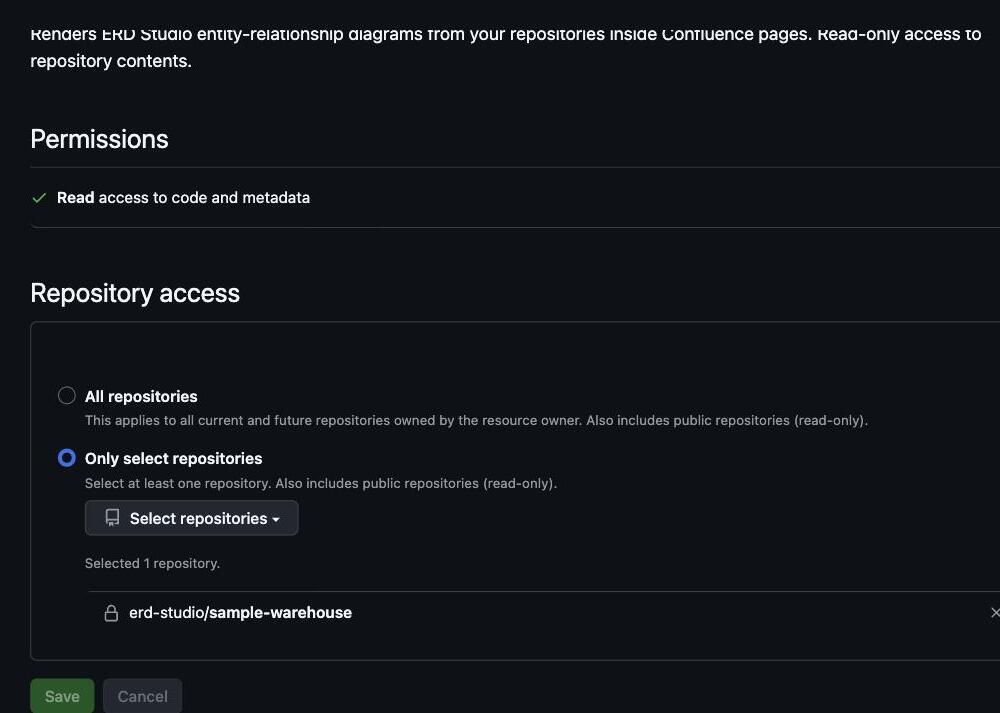
Then choose which repositories the app may read. We recommend Only select repositories. The app asks only for read access to code and metadata. It can't push, open pull requests, or see repositories you didn't select. You can change the list or uninstall the app from GitHub at any time.
3. Connect GitHub to your Confluence site
In Confluence, a site admin opens Settings → Apps → ERD Studio (or Configure under Manage apps) and clicks Find installations. Sign in to GitHub when asked. The page lists the installations your GitHub account can access. Click Connect next to yours.
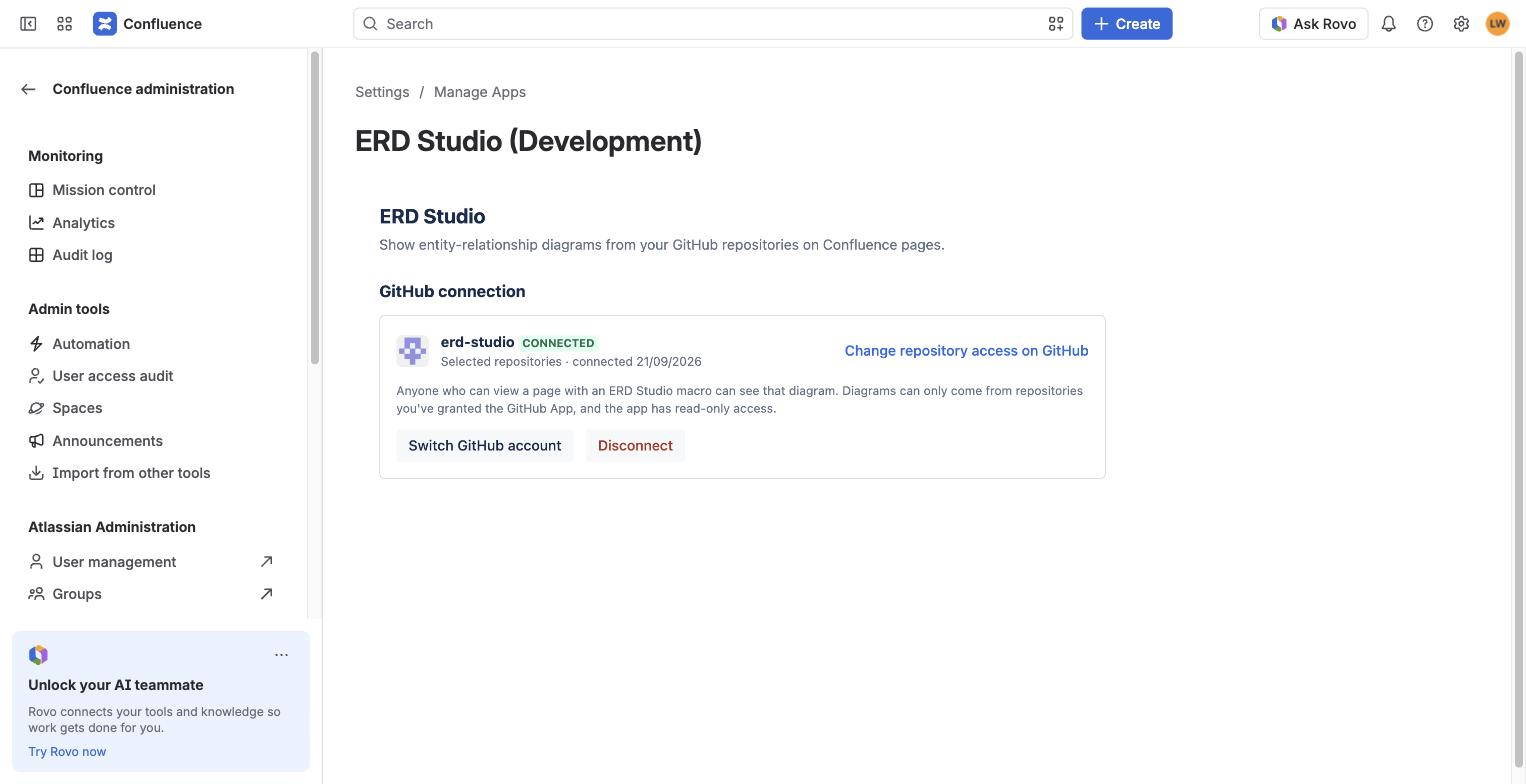
From this page you can also change repository access on GitHub, switch to a different installation, or disconnect.
4. Add a diagram to a page
Edit a page, type /ERD Studio and insert the macro. In the panel that opens, either:
- Choose from GitHub: pick a repository, a branch, then a diagram, or
- Paste a link: paste the GitHub URL of a domain file.
Pick a height, click Test to preview, then Save and publish the page. Only people who can edit the page can change which diagram it shows.
Viewing diagrams
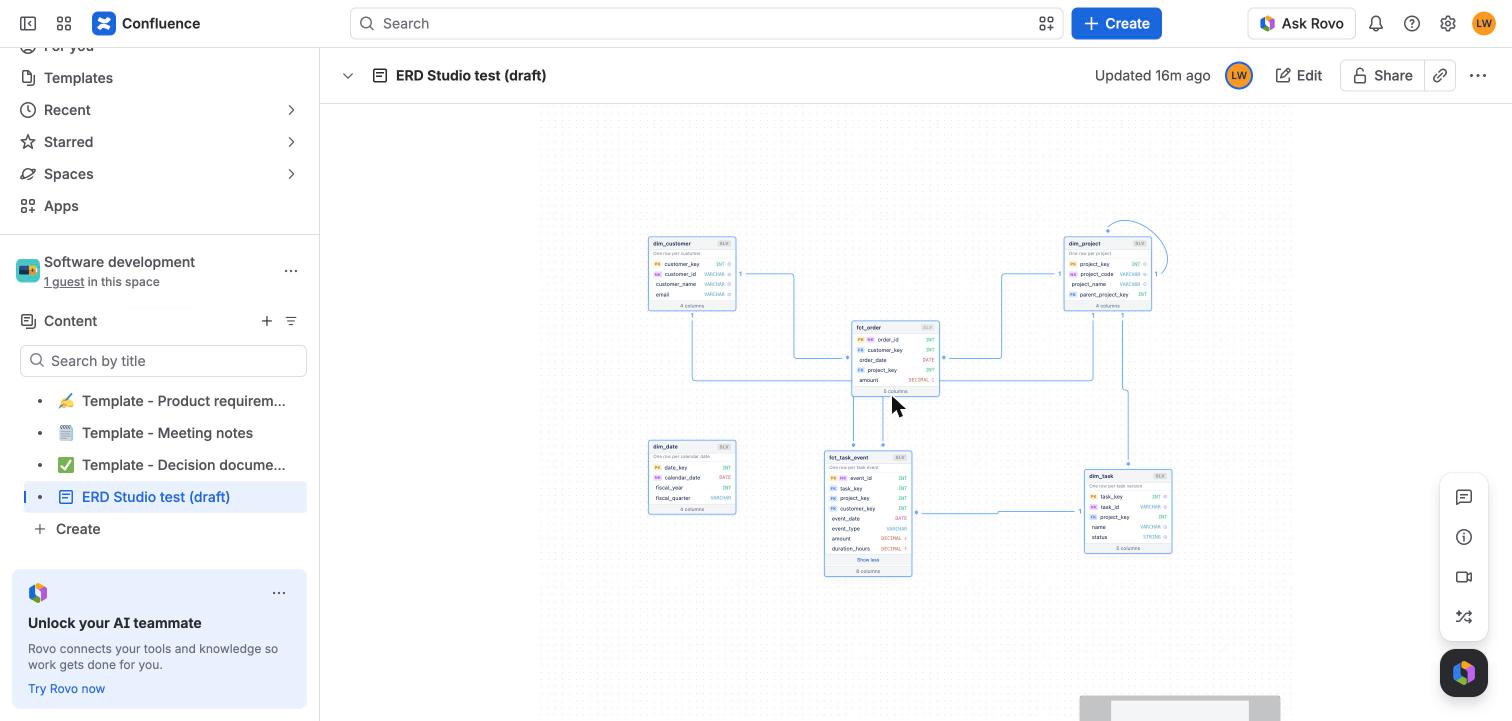
Readers can pan, zoom, expand the diagram, switch between light and dark, and drag tables around. Nothing a reader does is saved. The footer shows the repository, branch and commit the diagram came from. Each view checks the branch's latest commit, so pushed changes show up on the next page load.
Troubleshooting
| You see | Do this |
|---|---|
| "… isn't connected to GitHub yet" | A site admin needs to complete step 3. |
| A repository is missing from the list | Add it to the GitHub App installation on GitHub (step 2), then reopen the macro settings. |
| No diagrams listed for a branch | Check that .erd-studio/<layer>/<domain>.json is committed and pushed on that branch. |
| "Licence required" | The site's ERD Studio subscription or trial has ended. A site admin can renew it under Manage apps. |
Still stuck? See Support.